Bounding boxes
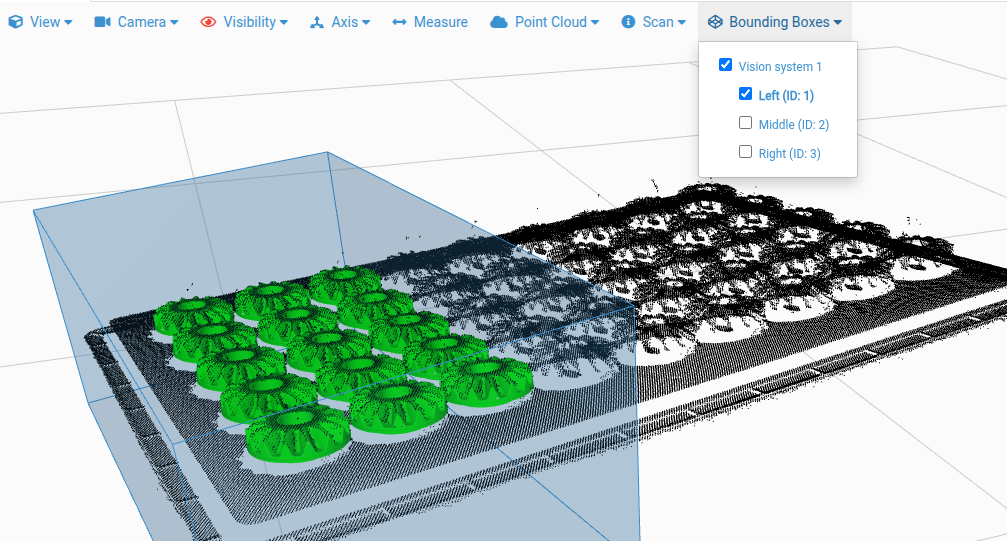
A bounding box defines a region of interest for the localization.
Contents
1 Configuration
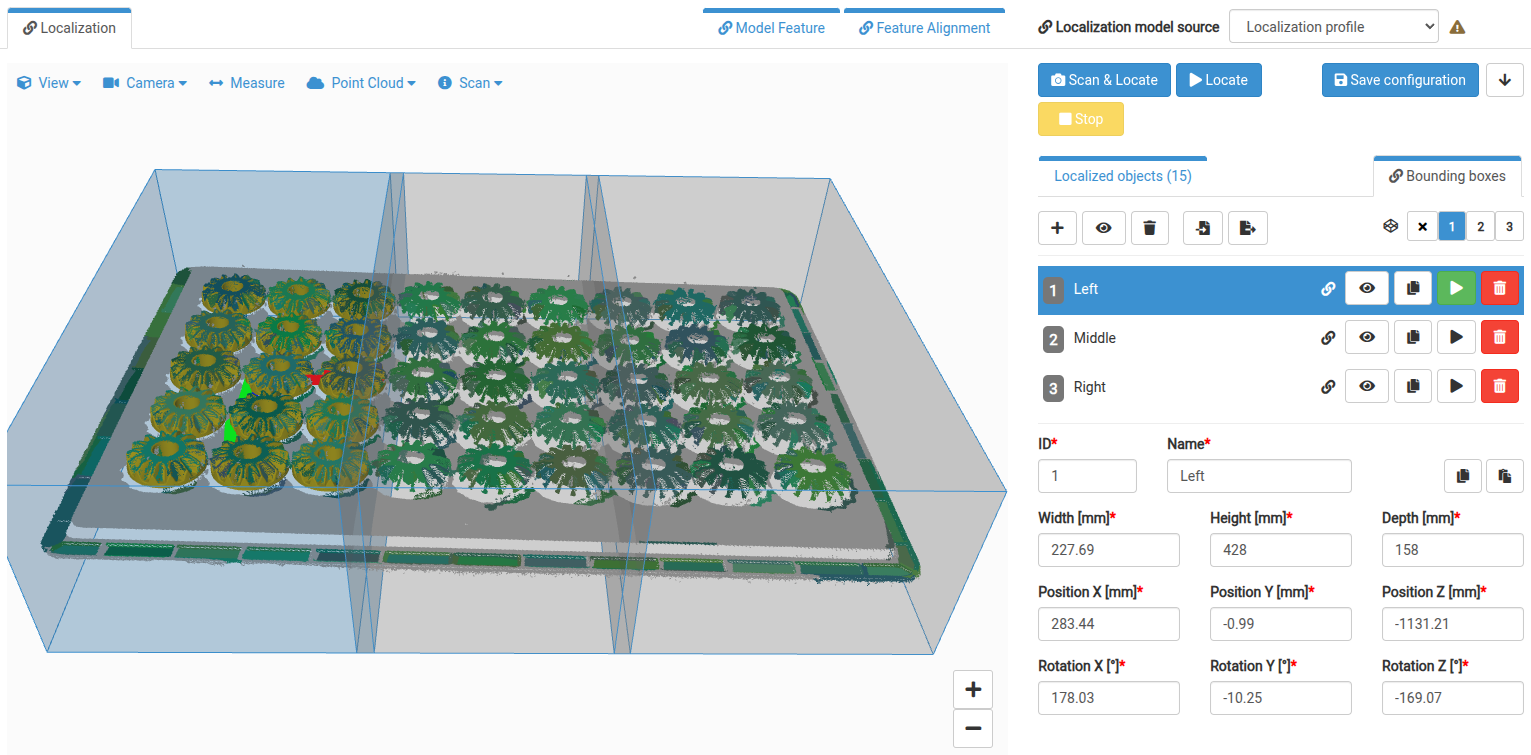
In the localization interface, there are two tabs available in the right pane of the main Localization page:
Localized objects - contains the list of localized objects with their properties
Bounding boxes - offers management of bounding boxes

1.1 Main toolbar
The main toolbar allows management of the list of configured bounding boxes. The toolbar is separated into two parts:
List management actions - on the left side, containing the actions available for the bounding box list
Active bounding box selector - on the right side, allowing the selection of the active bounding box
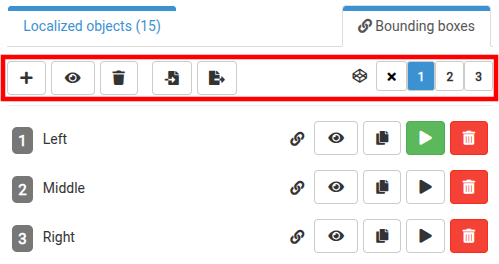
Add new - adds a new bounding box
Visibility toggle - toggles between showing only the active bounding box and all configured bounding boxes
List removal - removes all bounding boxes
Bounding box configuration import - imports a bounding box configuration from a .pbbcf file
Bounding box configuration export - exports the current bounding box configuration to a .pbbcf file
Active bounding box selector
1.2 Bounding box actions
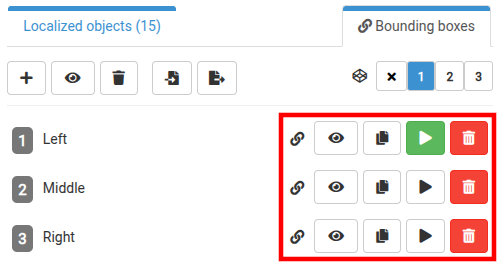
Each configured bounding box in the list offers the following actions:
Status indicator - indicates whether there are pending unsaved changes to the bounding box
Visibility toggle - toggles the visibility of the bounding box
Duplicate button - duplicates the bounding box
Set initial flag - sets the bounding box to be activated upon solution deployment
Delete button - deletes the bounding box
Image 5 - Bounding box actions
1.3 Bounding box properties
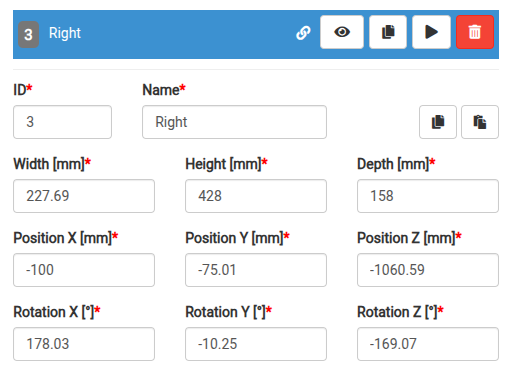
When a bounding box is selected from the bounding box list, a form appears with its properties:
ID - a unique identifier, used to activate the bounding box during runtime
Name - for simple identification of the bounding box
Size (Width/Height/Depth) - defines the dimensions of the bounding box
Position - defines the position of the bounding box relative to the origin of the scan (camera space)
Rotation - defines the rotation of the bounding box relative to the origin of the scan (camera space)
In the top right corner, buttons for copying/pasting bounding box properties to/from the clipboard are located.
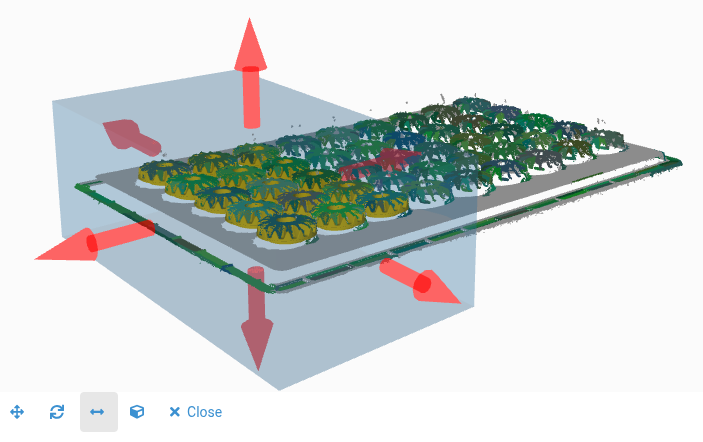
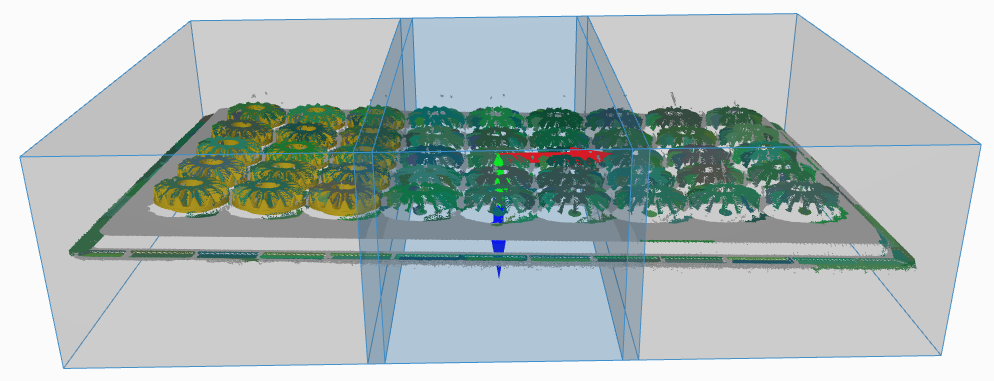
Move - Change the position of the bounding box along the desired axis by dragging a marker.
Rotate - Change the rotation of the bounding box around the desired axis by dragging a marker.
Resize - Change the dimensions of the bounding box along the desired axis by dragging a marker
Reset - Reset the bounding box to its default values
2 Runtime
Upon solution deployment, for all vision systems with configured bounding box(es), the one with the flag Initial is automatically activated.
In the following application cycles, to change the active bounding box for a vision system, the action request Change localization bounding box is used:
Change localization bounding box request for Bin Picking Studio
Change localization bounding box request for Locator Studio